MArMEr


A haphazard, and possibly inacurate, log of the process, lessons learned, and fun had.
Back to the intro in case this page is uninteresting.


Related Pages

Updated Cab Pics

Air-hockey build pics


Sample pic - not my build
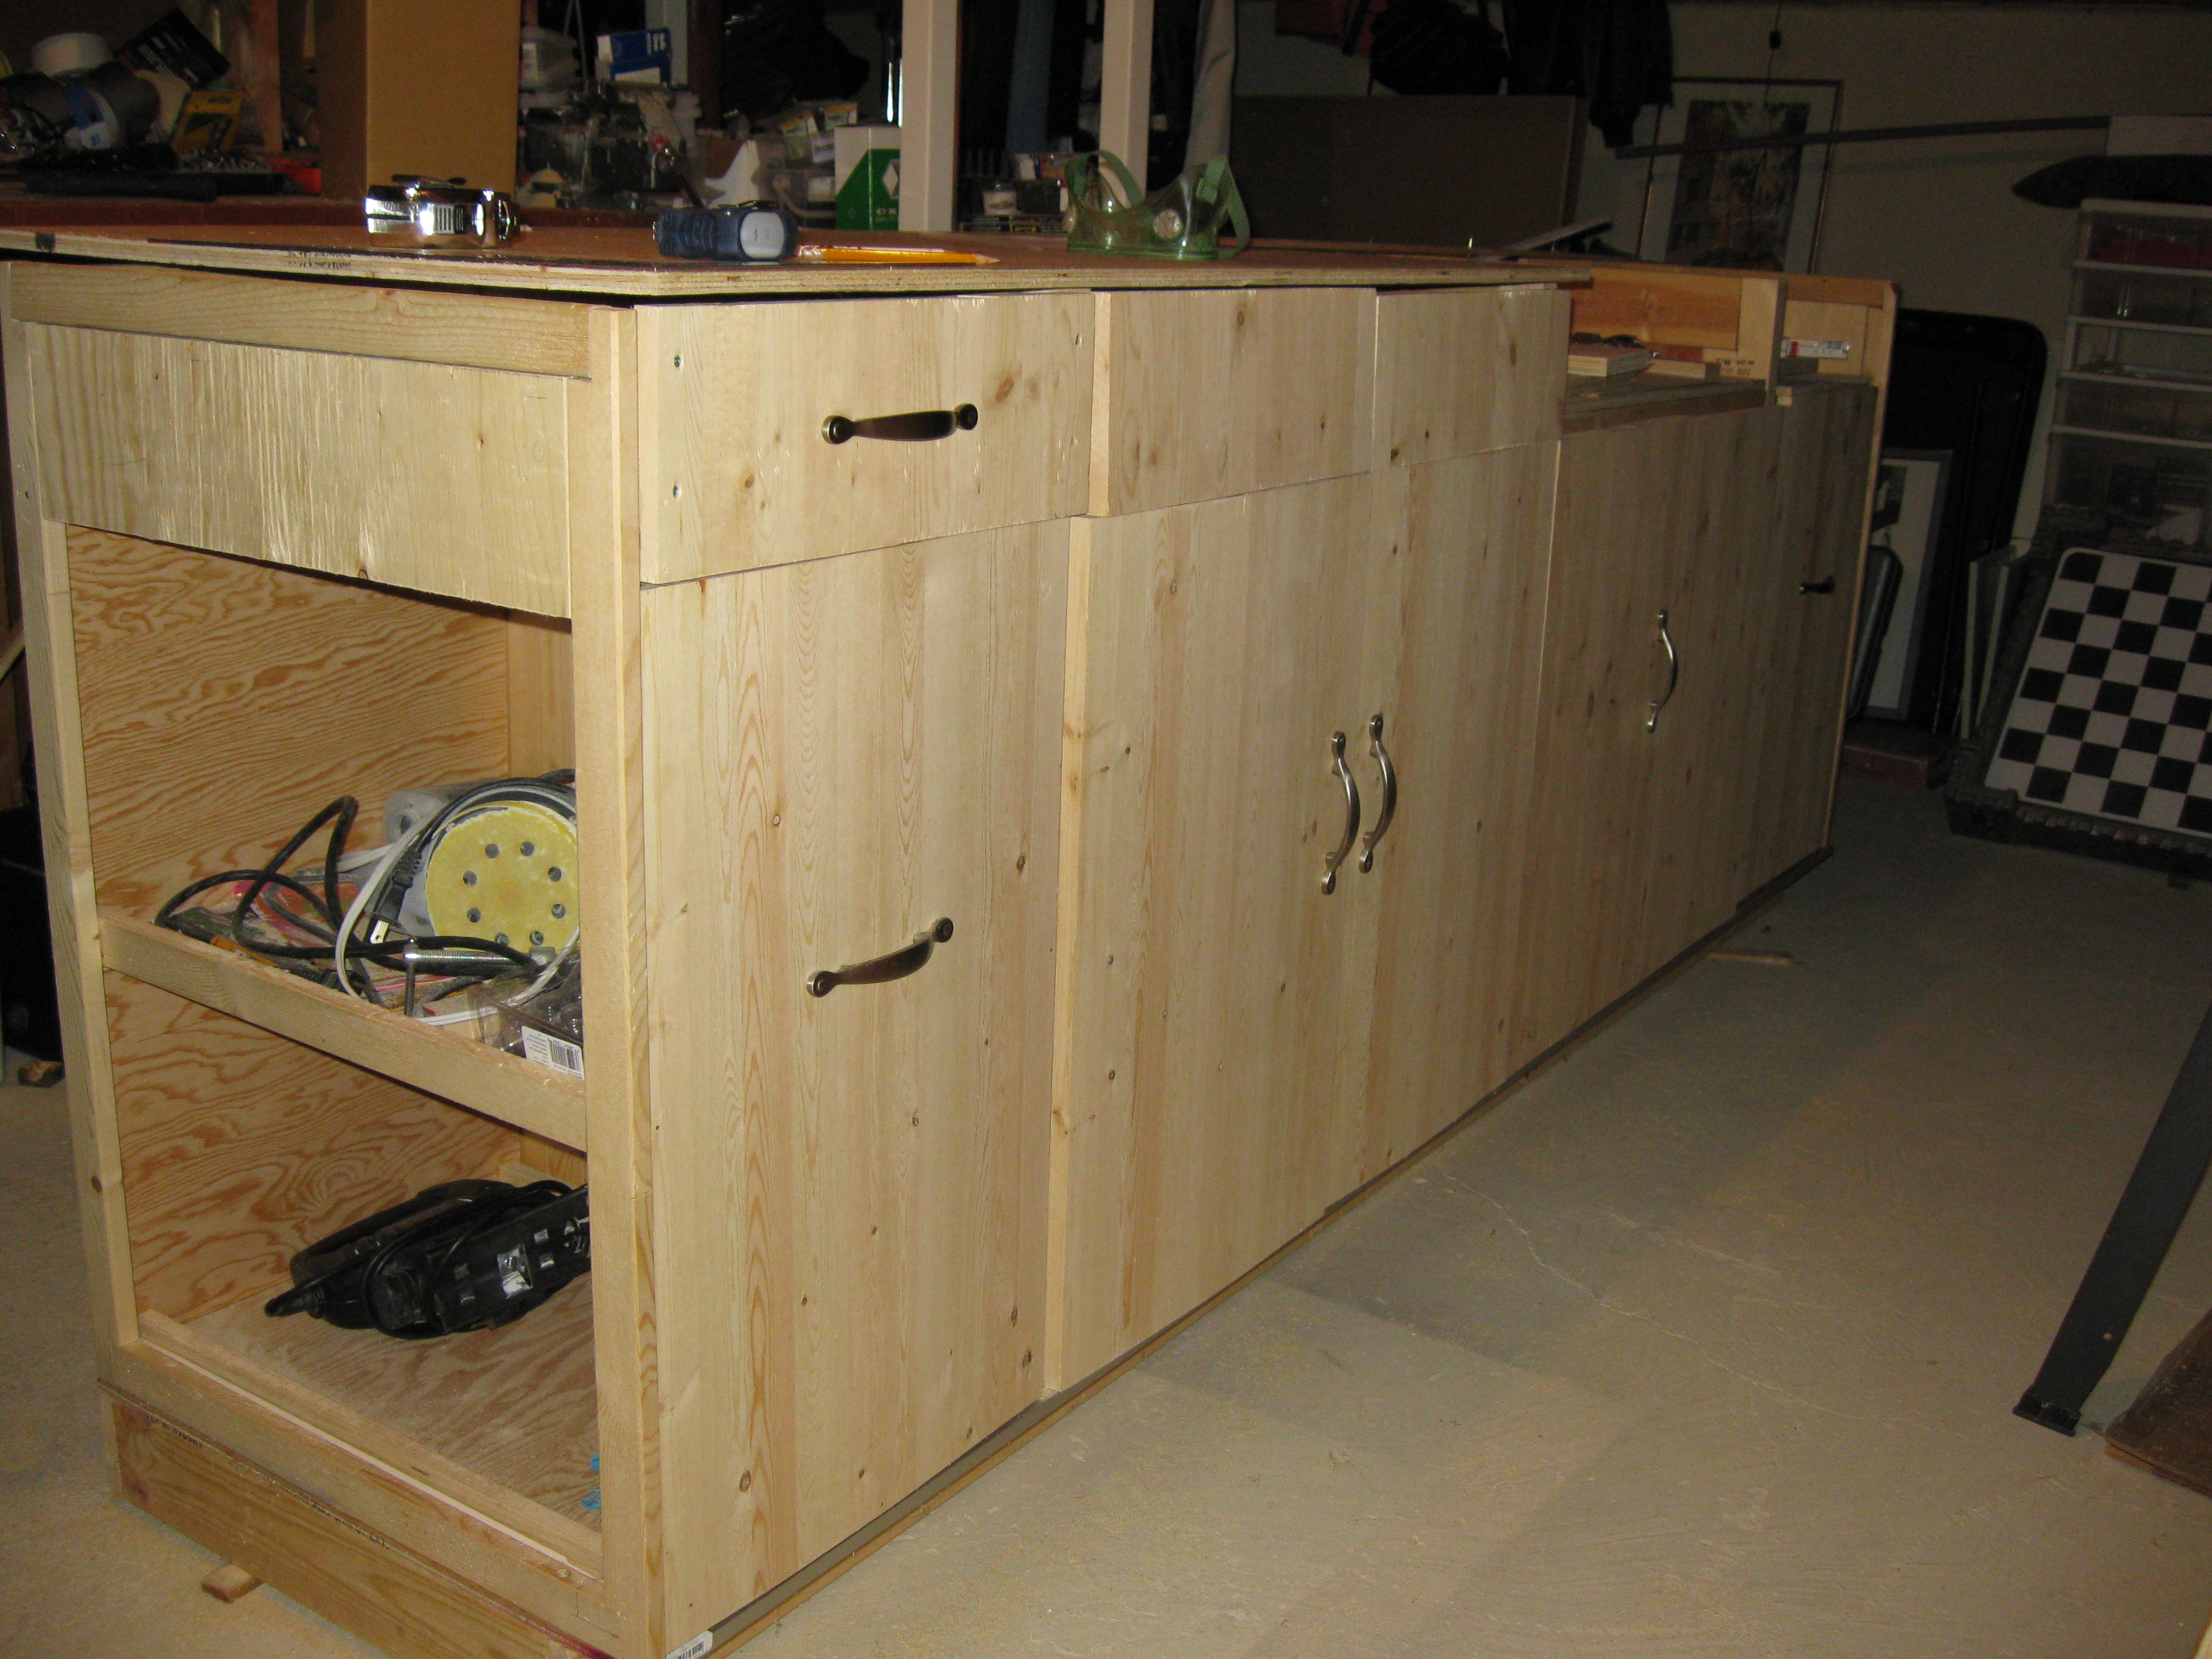
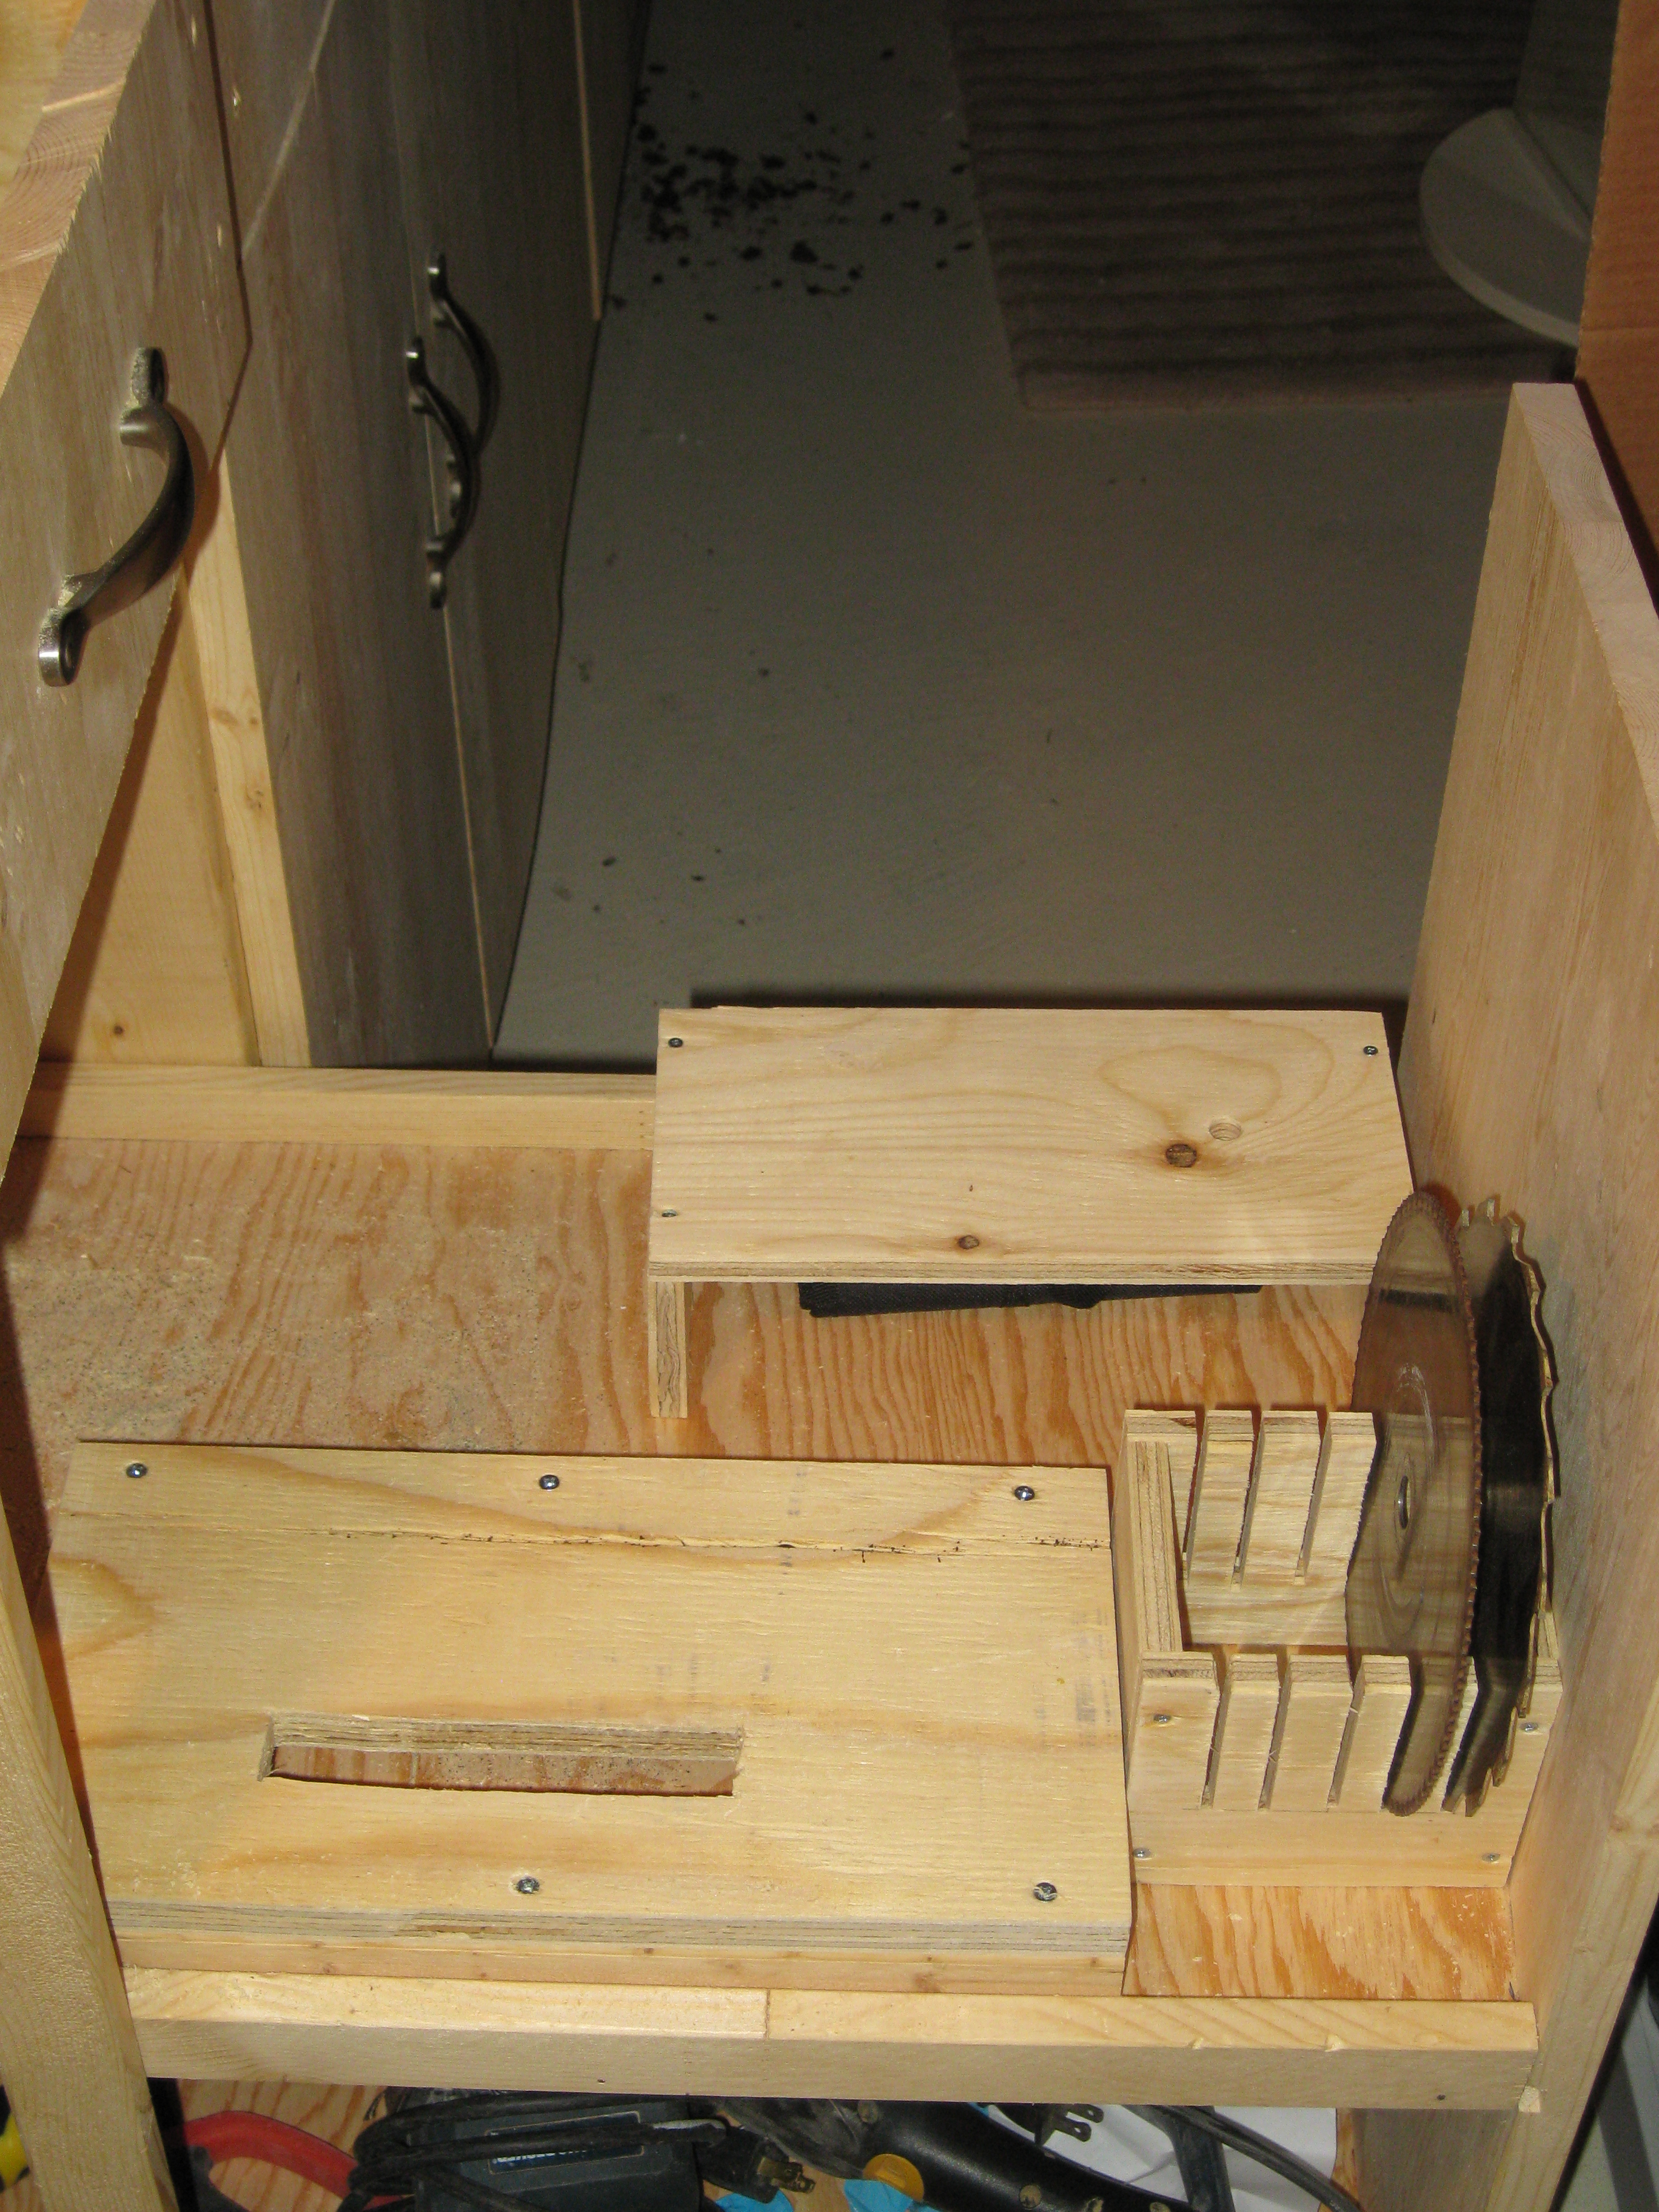
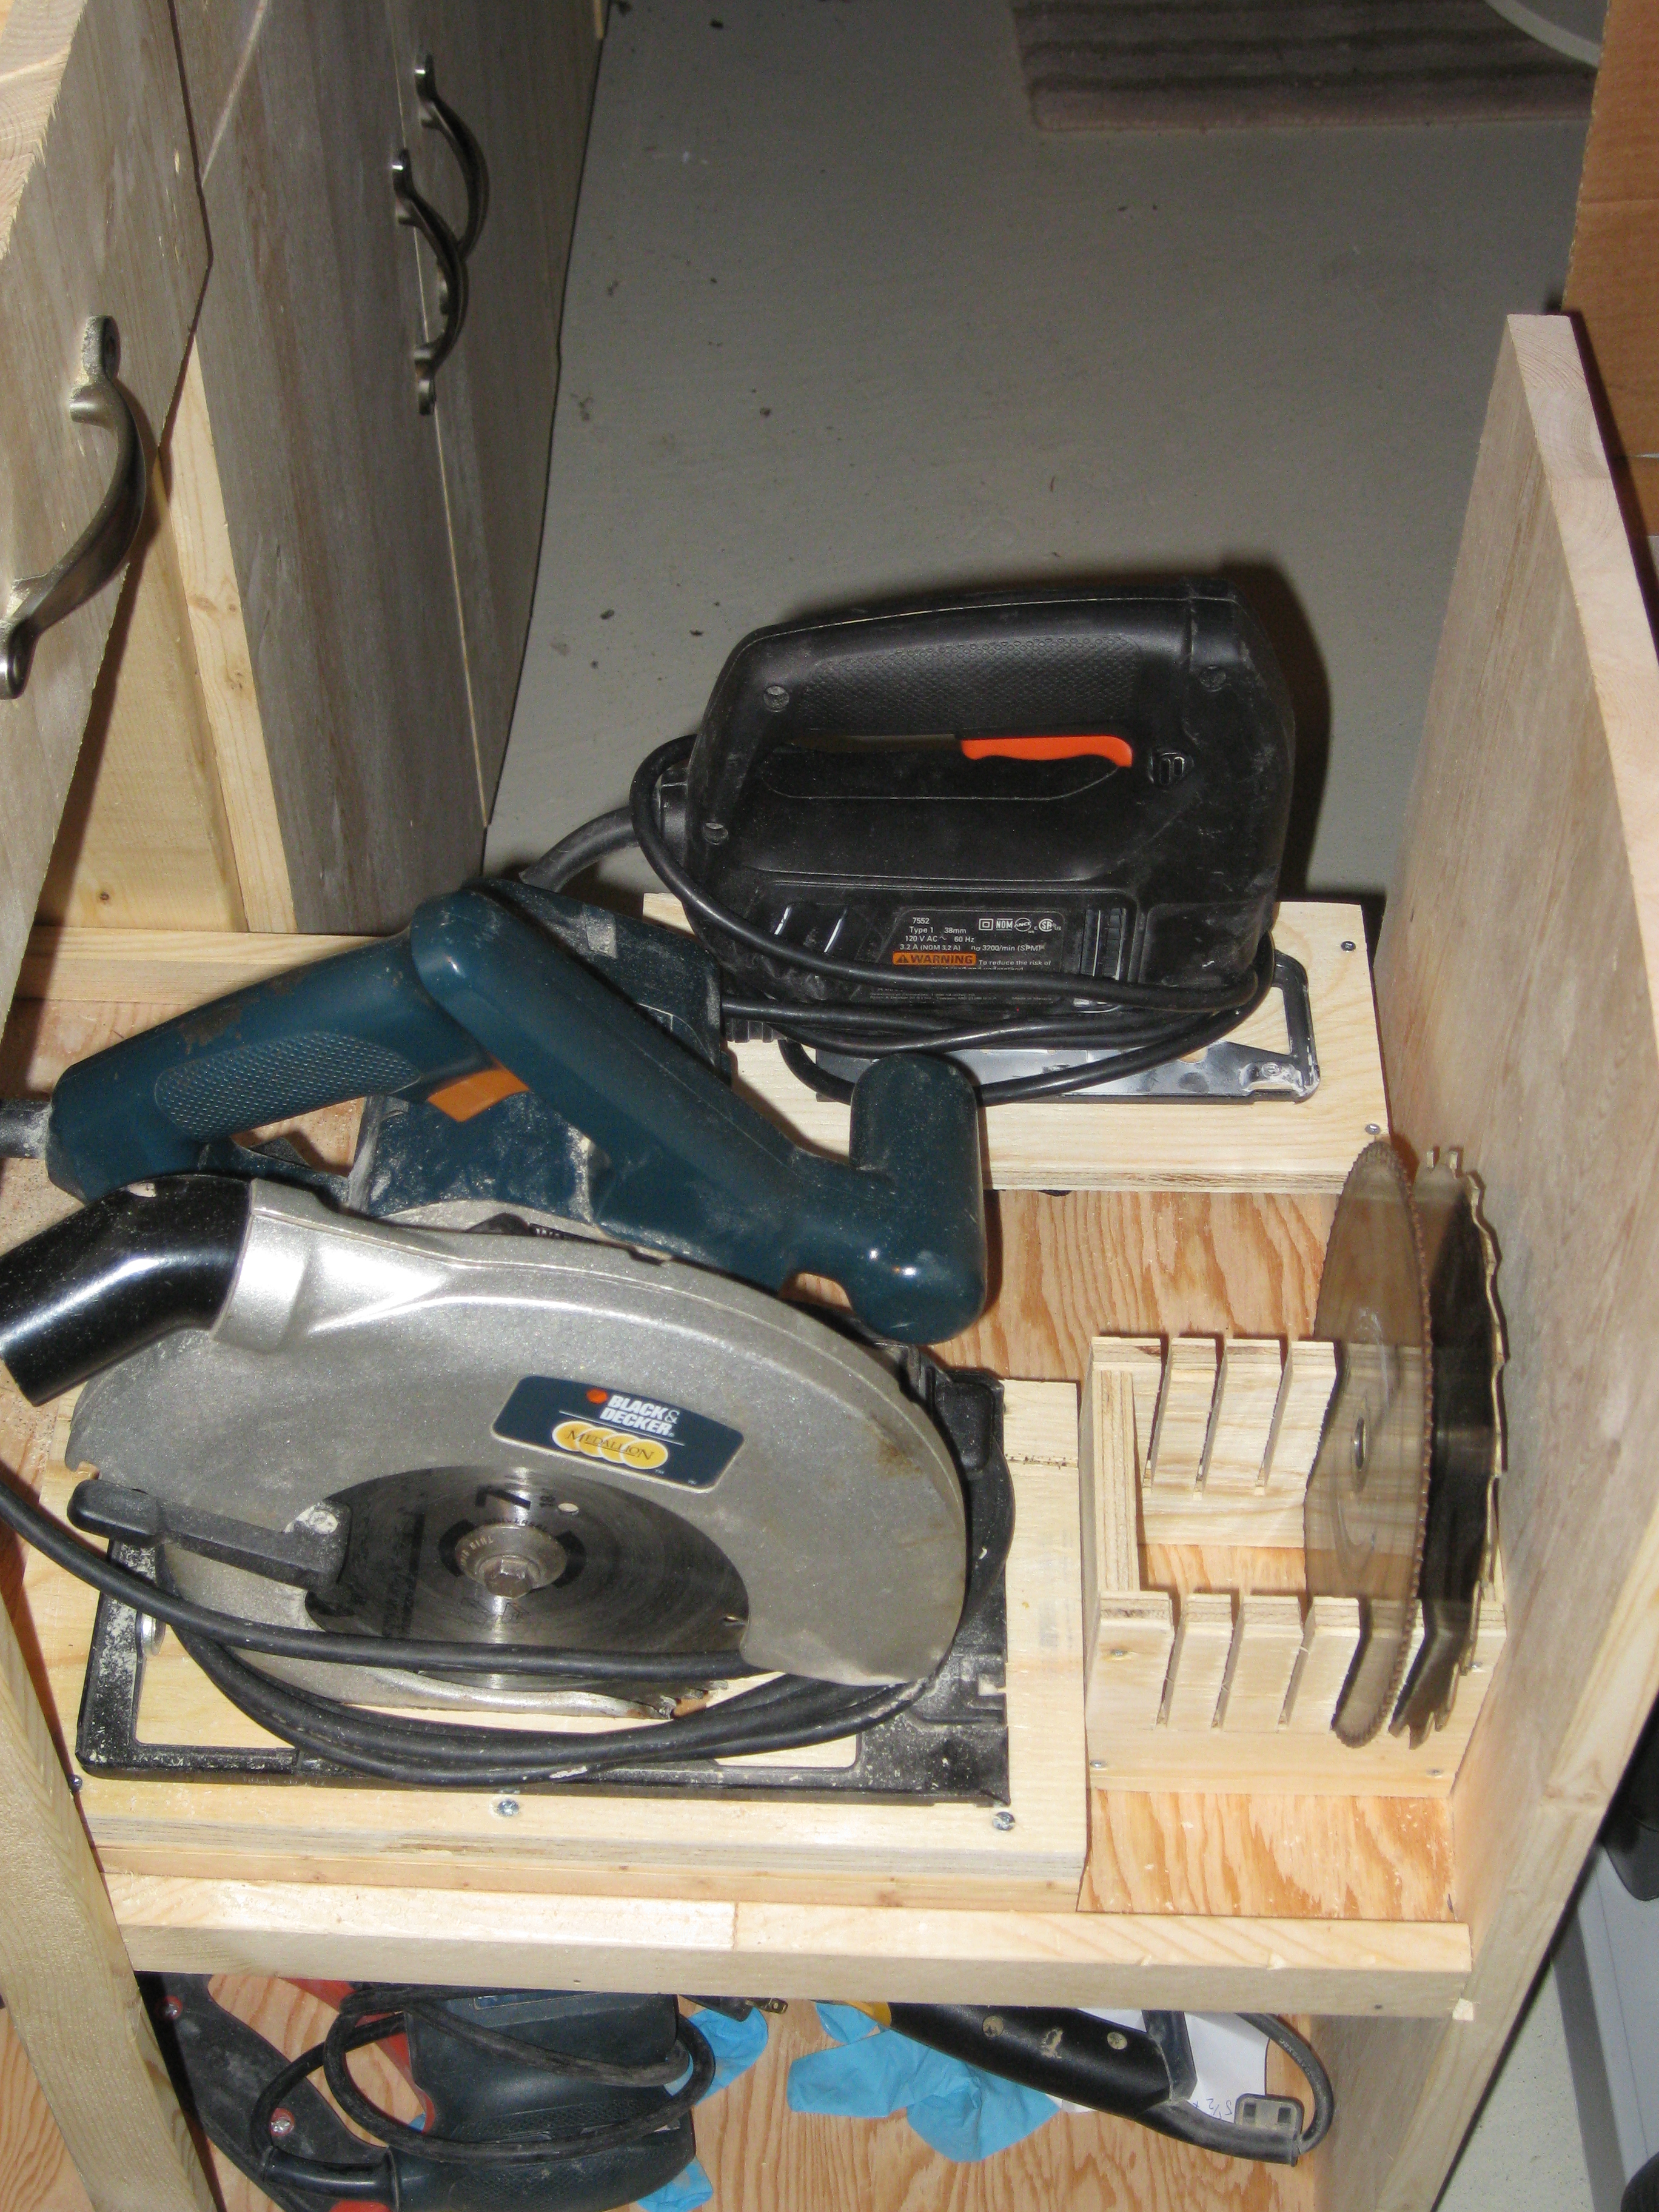
Workshop pics


Random build bits and Overview (in no particular order)

Raspberry Pi - embedded
Custom Coin Door Lighting

Compare brightness!
Q*Bert Knocker + Circuit

Fight Stick (in progress)

Custom mounting plate created for this
Failed Admin Panel

Paper mockup - no final pics taken
Stand Alone Control, for the girls
Dart Board Cabinet
Table
Drill Press Table

More Pics Here
LED Cube 8x8x8 (in progress)

This is not my pic - just an example
Circuit for LED Cube (Using Arduino)

Details Here - though I have completely customized the circuit and code.
Custom USB devices (in progress)

Other works in progress include

Raspberry Pi
(with Linux, Java)
Freedom Freescale
ARM Based Stuff
Arduino Microcontroller Stuff
including sensors, led cubes, etc

MAME Secondary Screen Animation Software.

Written in Java. Performance is incredible - uses almost zero CPU when animating (image scaling requires a bit of CPU). Runs on PC, Mac, etc, as well as Raspberry Pi devices - thanks to Java. Utilizes history.dat, clone info, any available artwork and either auto configures to provide the best user experience, or can be customized at the global, game, or clone level.
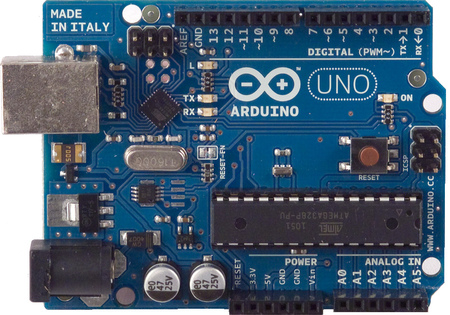
Running on the cabinet
Raspberry pi with X just started

Start of animation sequence: Arkanoid

Start of animation sequence: Duck Hunt


  • Replacement for MAWS website, redone in Java, as both stand-alone app, and website


  • ** All thumbnails are clickable for bigger pics **

    March 17-18, 2013

    Micro-Mame cabinet
    Joystick options:


    Cutting some hardboard to scale:


    Temporary assembly, showing scale, and a hint of final appearance:
       

    Some spinner options for a spinner based control panel - such as for Tempest:


    March 14, 2011

    Coin Door Lighting
    Having replaced the coin-reject buttons with blue and red ones to match the theme of the cabinet, I've found that the light trasmission (or glow) has seriously diminished. The obvious solution is a set of LEDs. Having a pile of them lying around (with matching resistors) is proving fruitful. The following is a pictorial account of the work done to improve lighting with LEDs.

    The door looked much like this when lit with factory bulbs at 12V:


    Now we switch to 5V and start adding LEDs. Take some proto-board

    Cut that sh...tuff into appropriately sized pieces. Cut a notch for wiring, add resistor and bare wire into notch and holes.


    Prep LEDs and resistors, solder, add heatshrink tubing, etc.


    Install and align LEDs as needed.


    The final result is much brighter than before. Original bulbs produced almost no light. The LED's provide exactly the rigth kind of glow, and are configurable/bendable. Up next - the red ones. These will use 3 LEDs instead of 4, because the LED's themselves are brighter than the Blue ones.

    March 9, 2011

    Q*Bert Knocker Circuit
                       

    From breadboard to cicuit, this thing will make you defecate masonry when playing Q*Bert. Top and bottom of final circuit, the pinball solenoid (the "knocker"), and the power supply I found on fleabay. The circuit schematic can be found here.

    September 12, 2010

    Status Update in Pics


    May 17, 2010

    Air Hockley
    It's the good ol' hockey game, the best game you can name...
    Details for making an Air Hockey table are hard to come by, so here is what I've found:
    You can also find instructions on making the pucks and mallets, but that's not for me.
    Got a squirrel blower from Active Surplus for peanuts. Works well, amazingly low noise. Much like this one from EBM Papst, except it's 115V, not 220V (with respective change in current). Can't find the exact model on the net, so making some assumptions. The linked one does 350CFM, and I'm hoping that's enough. Looks like this:

    I will probably use a baffle to help distribute air-flow:
    Given 1/16" holes, spaced 1" on centre, and a 3" puck, i see the following scenarios for lift...
    4 holes, not so great, but not so often:

    More typical, 7 holes, much better:

    Less likely, small gain, 8 holes for lift:

    ...found out pucks are a bit over 3", but I'm not going to redo the images above

    Uh...in-between

    "Finished" the shops workbench, just need to re-arrange the area. I don't have thumbnail images of the work in progress, so just links to the bench, as a w.i.p., the inserts I made for the multi-level drawer, and the latest mame-cab snap (which was already out of date but...)

    Warning, the following links to images are slow to pull down, sry


    Apr 9, 2010

    New joystick shafts arrive from Luigis Arcade. Non magnetic, so I'll have to glue the magnet on the bottom, and cut a hole for the wires to come out. This, obviously, is for the U360 with bubble tops, as shown. Combine with custom dust-washers acquired way back...lookin' good.
    Also have now: And the workshop table is nearing completion, but will be delayed due to other obligations.

    May 17, 2009

    Started working on a better workshop table...need a good solid area for doing work, and some better storage....

    May 14, 2009

    Put the TV in, some marquee art I'm toying with - and some testing....
       

    May 4, 2009

    · Primed and painted over the last few days. Top halfs are left primed - will cover with artwork. Jammed left-over piece of plexi in display area to decide how best to mount glass when the time comes. The inside was left unpainted, it will never be seen.
    · Applied t-molding, now that paint is dry.
    · Took pic of finished dart-board cab. Still not sure if I should add chalk-board to other side.


    > TO-DO

    - Aquire and install coin-door.

    - Get tinted glass to cover monitor/tv

    - Build final version of the control panel

    April 28, 2009

    · Glued chalkboard to dart-board cabinet door, put some weight on it to help.
    · Finished marquee lighting, including wood panel behind on which the flourescent lighting is mounted. Holes drilled to allow power cord and audio signal cord through. Still need to paint it all white inside to help reflect the light.
    · Finally took a picture of the electrical outlet.


    April 27, 2009

    Cut the plexi for the marquee, created wooden backing for marquee/speaker panel. Also wired the flourescent lighting unit. Note well the initial draft of marquee artwork.

    Also added mounting hardware to the back of the dartboard cab. Still need to stick on the chalkboards, though.

    April 24, 2009

    · Wii sensor bar, version 2. Two IR LEDs, wired with resistors, ready for a 5V source. Already tested on a computer - works really well. Might use Wiimotes as lightguns.
    · Bondo - to smooth out the crappy plywood
    · Wiring the cabinet begins - this will bring power to the cab, within which I'll have an outlet, and the relay mabob.
    · Chalkboards done, will probably use adhesive to stick them in, without hardware showing
    · Found some nice mounting hardware to hold darboard cab on the wall
    · Got some plexi (lucite) for the marquee, as well as a 24" double flourescent light box
           

    April 21, 2009

    Finished (basically) the dart-board cabinet - still need a real dart-board and darts tho :(
    Working on the chalkboard(s) - not sure if I'll use one or two. I've cut and primed two. When dry, I'll apply chalkboard paint.

    · Two layers of cork backing to protect stray darts (and because the first layer accidentally acquired a few hints of wood stain)
    · Polyurathane is a pain
    · Used dowels to attach chalk holder and dart holder
    · All pine construction, except door knobs (probably oak or something)
    · Still need to figure out how I want to mount it on a wall


    April 5, 2009

    · Added key to keyboard drawer
    · Started the dartboard cabinet

    Need a decent dart-board; perhaps this one
    · Created improved Wii sensor bar
    · Soldered up the QBR1134 w/ requisite resistors, tested - working fine

    March 31, 2009

    Finished construction of the cabinet (sans control panel, and a few tidbits):


    · Still need to sand, paint, add marque, glass+bezel in front of TV, t-modling, maybe some artwork on the sides...
    · Control panel will be the biggest job left

    March 30, 2009

    The QBR1134 arrives from Mouser.

    Need to attach it to my pinball plunger curcuit, but thats what the screw terminals are for:
         

    Finally ...pics of other stuff:

        Speaker Panel:  

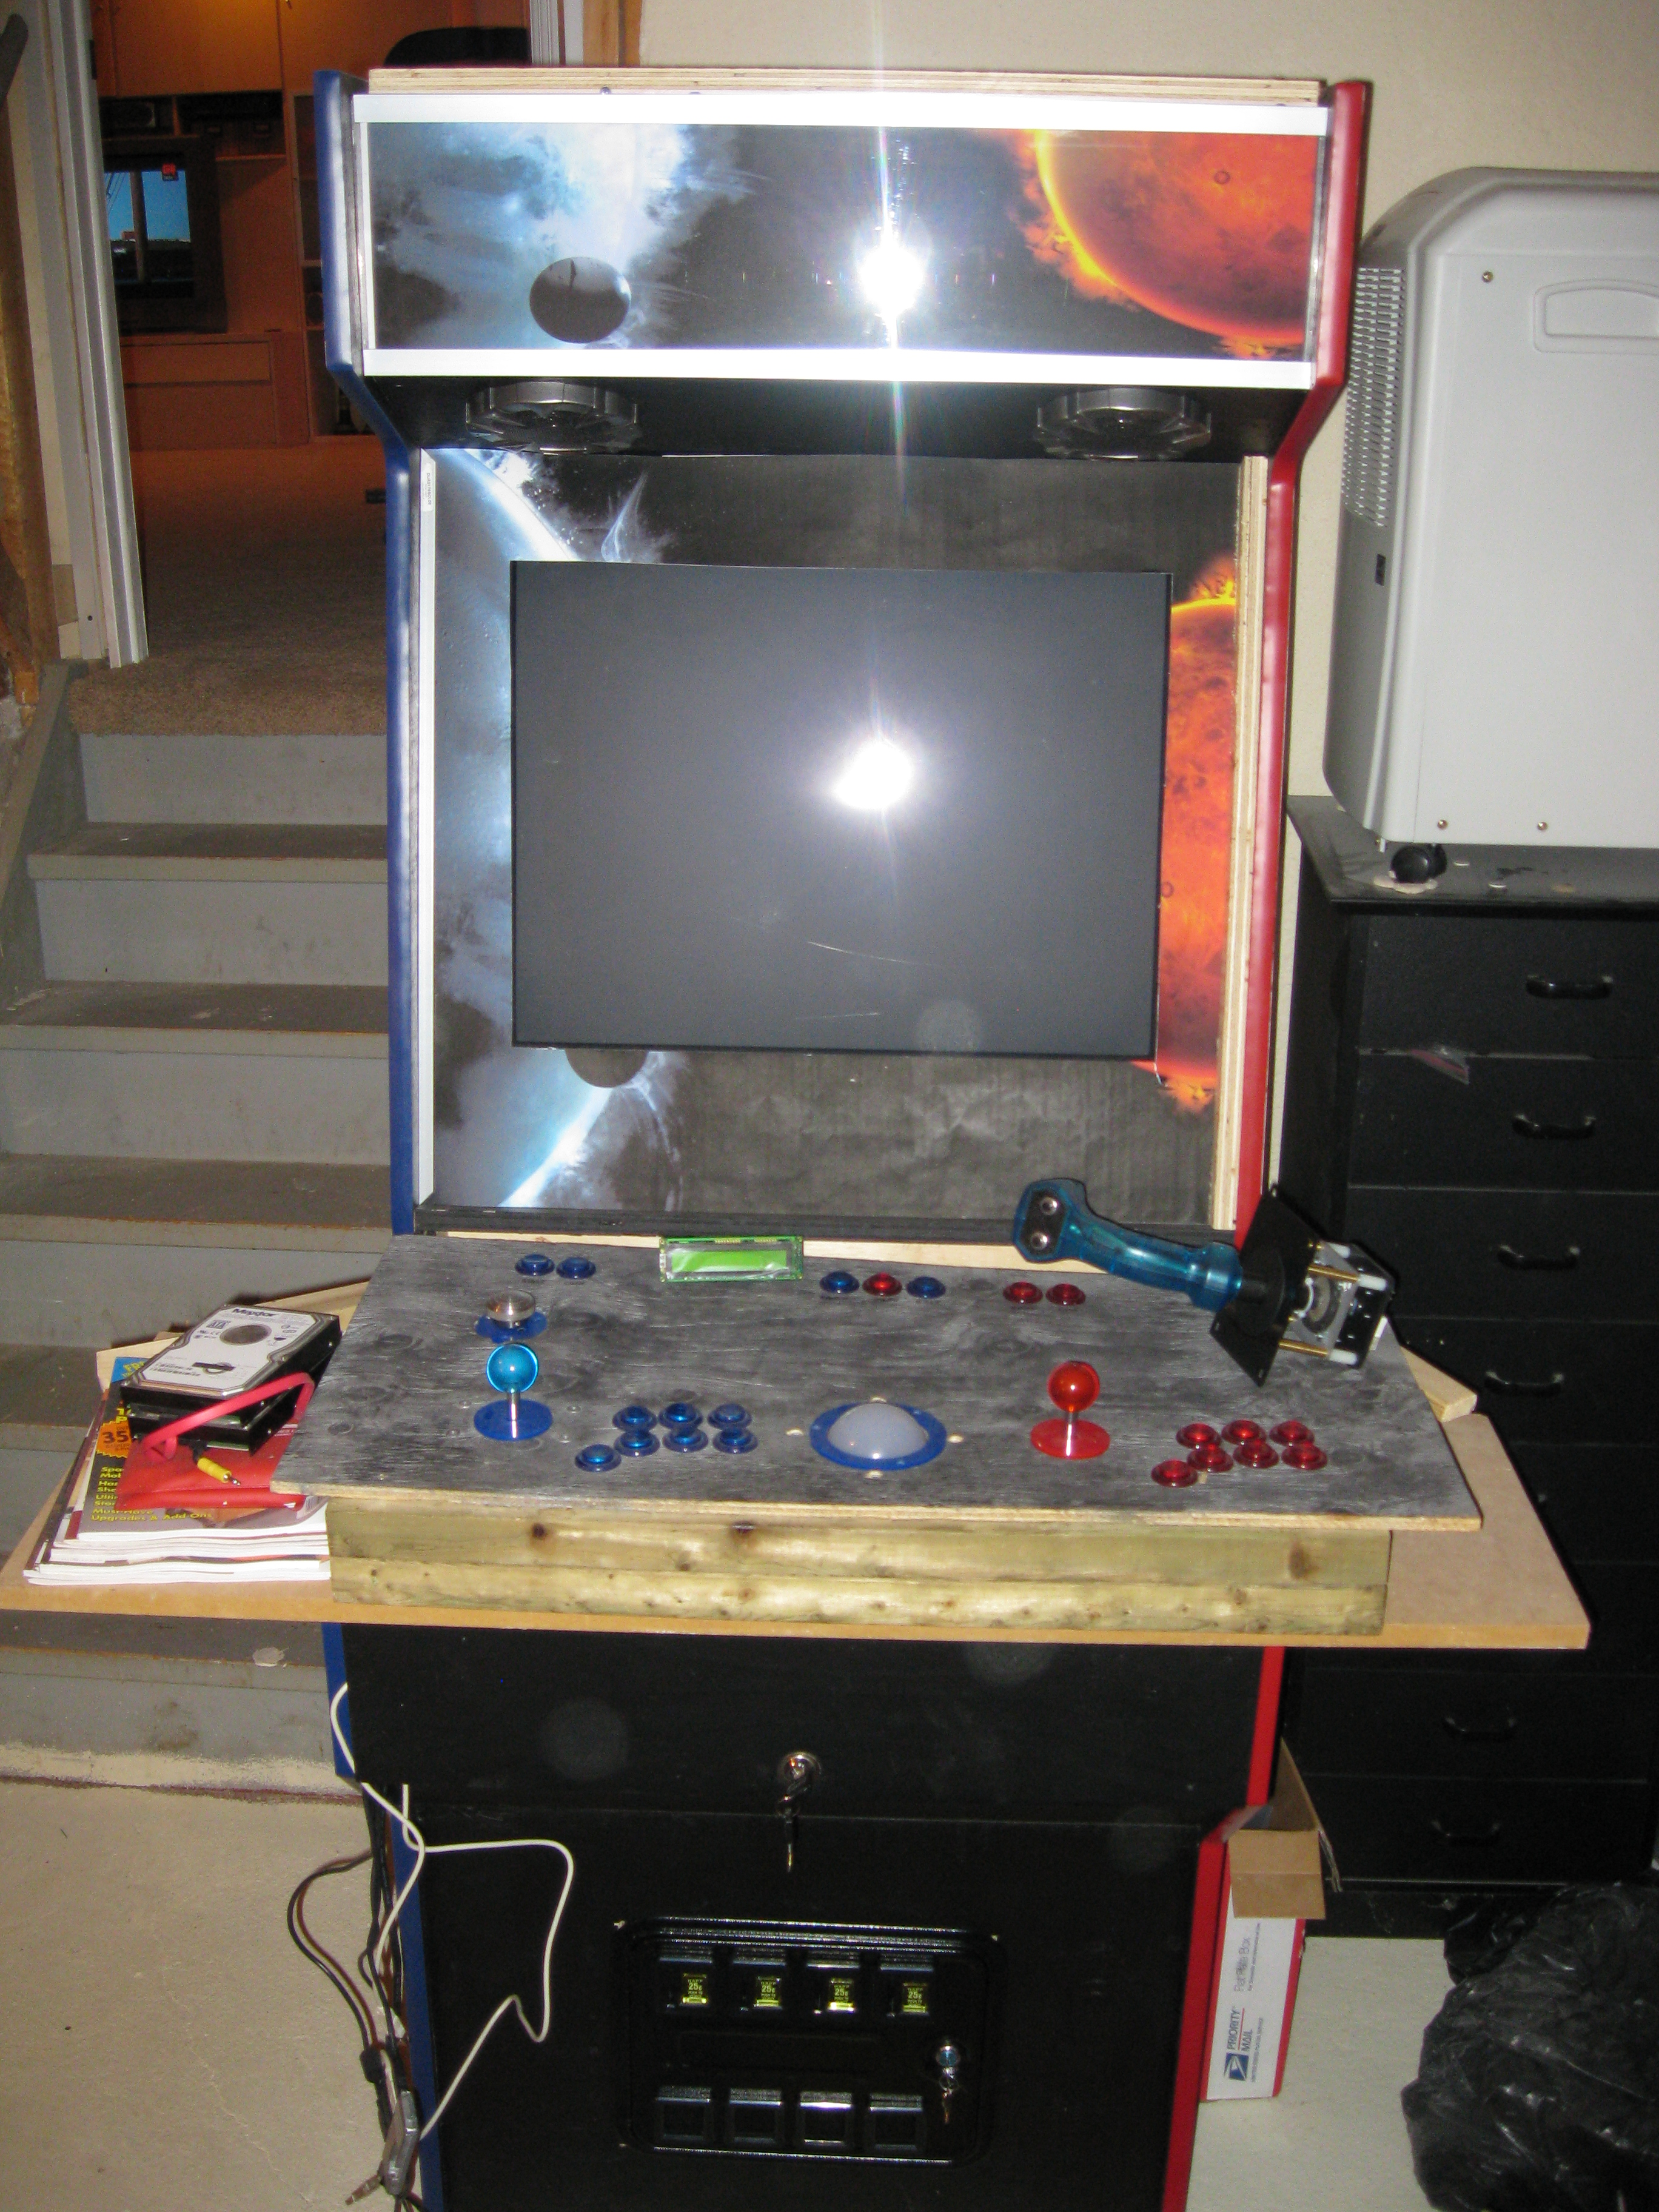
        Control panel proto, as it's been for a loooooong time now:  

    The buttons have varying brightness due to experiments with button lighting using 5mm LED's embedded in the bottoms, powered by the LED-Wiz

    March 28, 2009

    Added keyboard shelf to cab base (no pics)

    March 23, 2009

    · About a week ago, I tore apart some crappy old PC speakers to steal the electronics. Mated those to some cheapo Canadian Tire car speakers.

    · Over the course of several weekends (a couple hours on a Sunday here and there), I've got most of the wood cut, and begin constructing the base, with the aid of my trusty companion, GrimReaper007.

    · Realizing I needed more pieces to continue, I finish the cutting, and complete the base unit.

    · And somewhere during all this time, I cloned the Pinball Plunger circuit. Clone may be an exagerattion, as I have neither the experience nor the patience to do it up right. (pic's coming soon). The Opto-Reflective part (QRB1134) on order.

    · Got some IR LED's, made my own Wii sensor bar. Tested with GlovePie - works well.

    · Got some UV LED's, thinking they'd light up the new Tron Stick really well.

    · Looking for some form of small LCD panel (maybe 4" to 6") to embed in my control panel, to display controls or whatevers. No luck so far. Have considered:

    I just can't find something cheap whose display can be driven via computer - using any means (usb, video feed, etc).


    · And finally, some testing:


    Oct 15, 2008

    Got me a TV - large, quality monitors are near extinct. This is a Panasonic Tau, 27". About 6 years old, but picture is quite good: Pic

    July ??, 2008

    Created stand alone pink panel for the nieces. Early prototype pics (artwork fail):


    Artword replaced:    

    Feb 24, 2008

    Took some pics of the underbelly of the beast:


    Feb 22, 2008

    Feb 19, 2008

    Tried using 3 blue LED's in a blue transparent push-button. It has a really nice glow, but still not as bright as a red button with two red LED's. I will have to suffice I think - I can drill only so many holes in the button before it falls apart. Also noticed that the LED-Wiz controller is feeding 4 volts, not 5! Maybe a voltage boost is needed to brighten things up?

    Feb 16, 2008

    Wired up the trackball in the proto-panel - it was never connected before this. Using the small optical encoder that came with the spinner. Also, moved the spinner from the X-axis pins on the encoder to the Z-axis, to accomodate the trackball. Used lots of molex and such to get this working. Need to take pics - it's quite funny (generally quite the rats nest under there too).

    Feb 8, 2008

    Finished control panel prototype version 2

    Jan ??, 2008

    All ordered parts are in, prototype panel coming along quite well. Once it hits a playable state, all bets are off - let's just say the cab may take a while. Having lots of fun playing games with real arcade controls &tc. Some pics taken between January 27-29, as LED's were added and the trackball lighting kit was installed, then a new minipanel to house the mini-display, slider(s), and shiny (on?) button.
  • More pics to come

    Jan 10, 2008

    HOORAY! GroovyGameGear finally puts the hi-lo spinner up for sale - order goes in, and add some "micro-leaf" switches to take the click out of my buttons. Add also the LED-wiz, and trackball upgrades (lighting kit and booster kit). So now, a lot of cash has been spent :( But the goal is getting closer.

    Jan 9, 2008

    Received Afterburner from ThrustVector - an awesome keyboard encoder (check them out). Obviously, one cannot take shipment of such a thing without playing a bit. But with a pile of loose buttons, its diffcult.

    Jan 8, 2008

    Ordered 4 U360's from Ultimarc. Nice configurable joysticks. Really good stuff for mame. Gunna try the hard springs too, see how that works out.
    Also found a mabob - you know, one of those power bars with only one live outlet which, when in use, enables the others outlets. This makes it easy to have all devices (monitor, marquee lighting, etc) turn on at the same time. Combined with a simple button to turn on your computer, well, you get the idea. One could hack together such a device using a relay, but this was cheap enough (about $15), has one live outlet, two subordinate ones.

    September 5, 2007

    The MS Dual-Strike controllers arrive - these are destined for....something. Maybe hack them into Star-Wars yoke controlls or something.

    Late August, 2007

    Got some Betson Imperial trackballs. Found these at Active Surplus - piled into a bin. Wasnt sure at the time what I was looking at, but the name Betson rang a bell. Was hoping these were 3" (couldnt really tell by looking, which perhaps tells you something about my cab building experience). Anyway, these were in fine shape, 3" balls, appeared to be NOS (new old stock) or something because the cables still had twist ties on them. Only $9.95 so who can complain!
    So, now armed with buttons and trackballs, took a small-ish bit of wood, drilled a few holes, hacked a mouse, an voila! instant Centipede action!

    May 31 - Mid June, 2007

    Ordered, then finally received, some translucent buttons; some red, some blue, from Lizard Lick. They were sent right away but spent a couple weeks at the border I suppose. Nicely packaged, excellent stuff - Lizard Lick is highly recommended! These came with quality cherry switches, which are known for their clicky sound, but otherwise are the industry standard. Need to do something about that click!